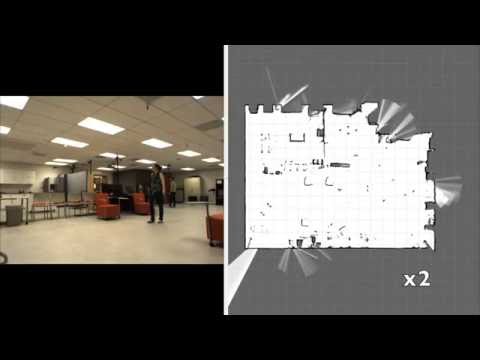
前言 Cartographer 是 Google 最近剛發表的 SLAM 演算法,效果看起來非常好,而且他們發表的論文裡主打這個演算法很 real-time,今天就來帶大家把這個演算法在自己的環境中跑起來,之後就可以自己玩了。
建立模擬環境 我的測試環境是 Ubuntu 14.04 + ROS Indigo,不過使用的指令都很 general,即便你使用其他版本,應該也不會有什麼問題。
首先我們確定已經安裝所需要的套件:
1 sudo apt-get install ros-indigo-gazebo-*
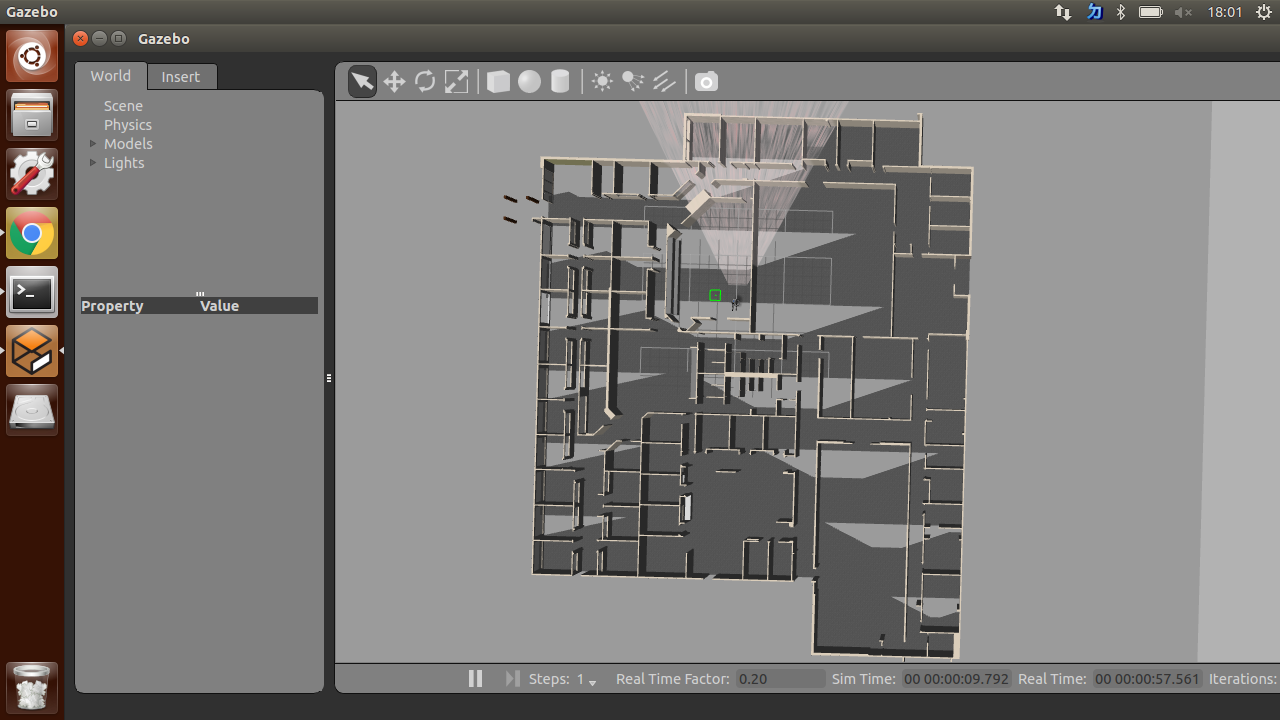
接下來在終端機輸入 gazebo 應該就可以成功啟動 Gazebo 模擬器。然後我們可以用現成的 package 啟動一個有 PR2 的複雜環境。
1 roslaunch pr2_gazebo pr2_wg_world.launch
理論上,你會碰到一個 error 說:
1 unused args [paused, gui] for include of [/opt/ros/jade/share/gazebo_ros/launch/willowgarage_world.launch] The traceback for the exception was written to the log file
這時候只要去編輯你的 pr2_wg_world.launch,把有 arg 的部分註解掉就好,註解完的檔案看起來會像下面這樣:
1 2 3 4 5 6 7 8 9 10 11 12 13 14 15 16 17 18 19 20 21 22 <launch > <include file ="$(find gazebo_ros)/launch/willowgarage_world.launch" > </include > <include file ="$(find pr2_gazebo)/launch/pr2.launch" /> </launch >
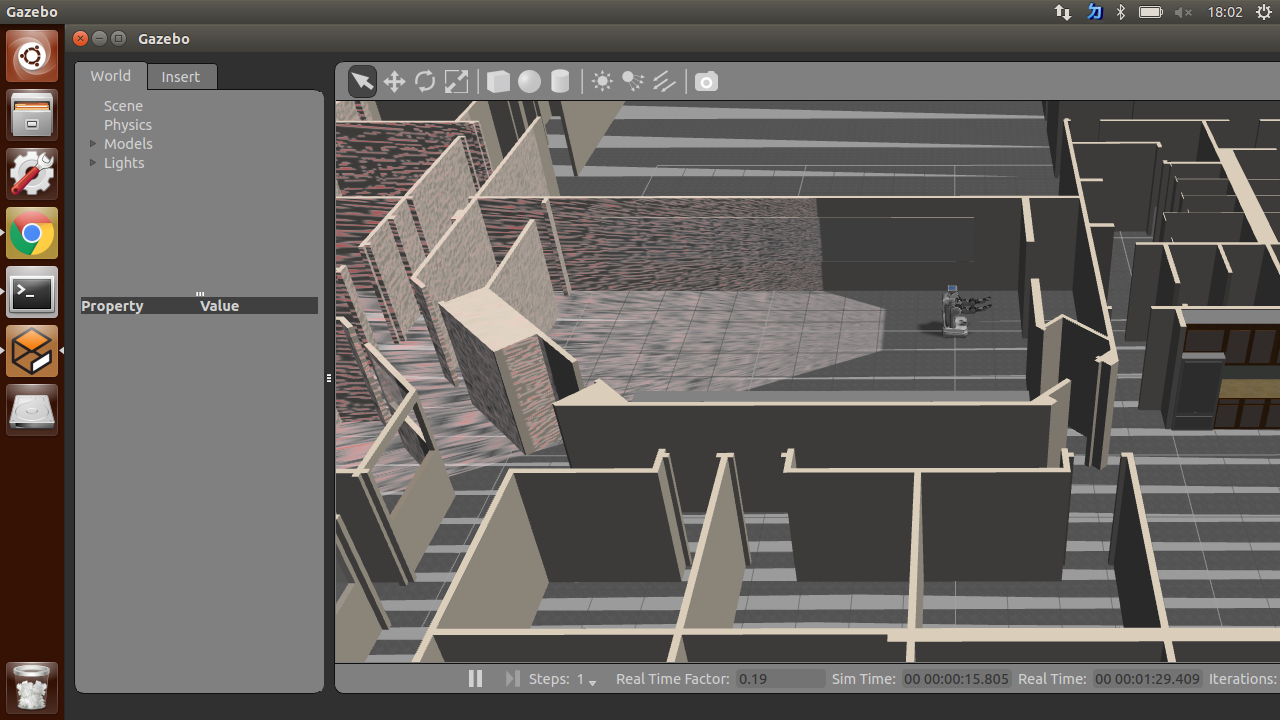
註解完畢就可以啟動啦。啟動之後的環境會長得像下面這樣:
安裝 & 啓動 Cartographer 安裝的方法滿簡單的,只要照著官方文件上的步驟做就可以了:
1
2
3
4
5
6
7
8
9
10
11
12
13
14
15
16
17
18
19
20
21
# Install wstool and rosdep. sudo apt-get update sudo apt-get install -y python-wstool python-rosdep ninja-build # Create a new workspace in 'catkin_ws'. mkdir catkin_ws cd catkin_ws wstool init src # Merge the cartographer_ros.rosinstall file and fetch code for dependencies. wstool merge -t src https://raw.githubusercontent.com/googlecartographer/cartographer_ros/master/cartographer_ros.rosinstall wstool update -t src # Install deb dependencies. rosdep init rosdep update rosdep install --from-paths src --ignore-src --rosdistro=${ROS_DISTRO} -y # Build and install. catkin_make_isolated --install --use-ninja source install_isolated/setup.bash
重點是裝完之後,我們想要跑 cartographer_ros package 裡面的 demo_pr2.launch,但裡面原本預設是跑 bag file 的 demo 版本,所以我們要稍微修改一下 demo_pr2.launch :
1 rosed cartographer_ros demo_pr2.launch
1 2 3 4 5 6 7 8 9 10 11 12 13 14 15 16 17 18 19 20 21 22 23 24 25 26 27 28 29 30 31 32 33 34 35 36 37 38 39 40 41 <launch > <param name ="/use_sim_time" value ="true" /> <node name ="cartographer_node" pkg ="cartographer_ros" type ="cartographer_node" args =" -configuration_directory $(find cartographer_ros)/configuration_files -configuration_basename pr2.lua" output ="screen" > <remap from ="scan" to ="/base_scan" /> </node > <node name ="tf_remove_frames" pkg ="cartographer_ros" type ="tf_remove_frames.py" > <remap from ="tf_out" to ="/tf" /> <rosparam param ="remove_frames" > - map - odom_combined </rosparam > </node > <node name ="rviz" pkg ="rviz" type ="rviz" required ="true" args ="-d $(find cartographer_ros)/configuration_files/demo_2d.rviz" /> </launch >
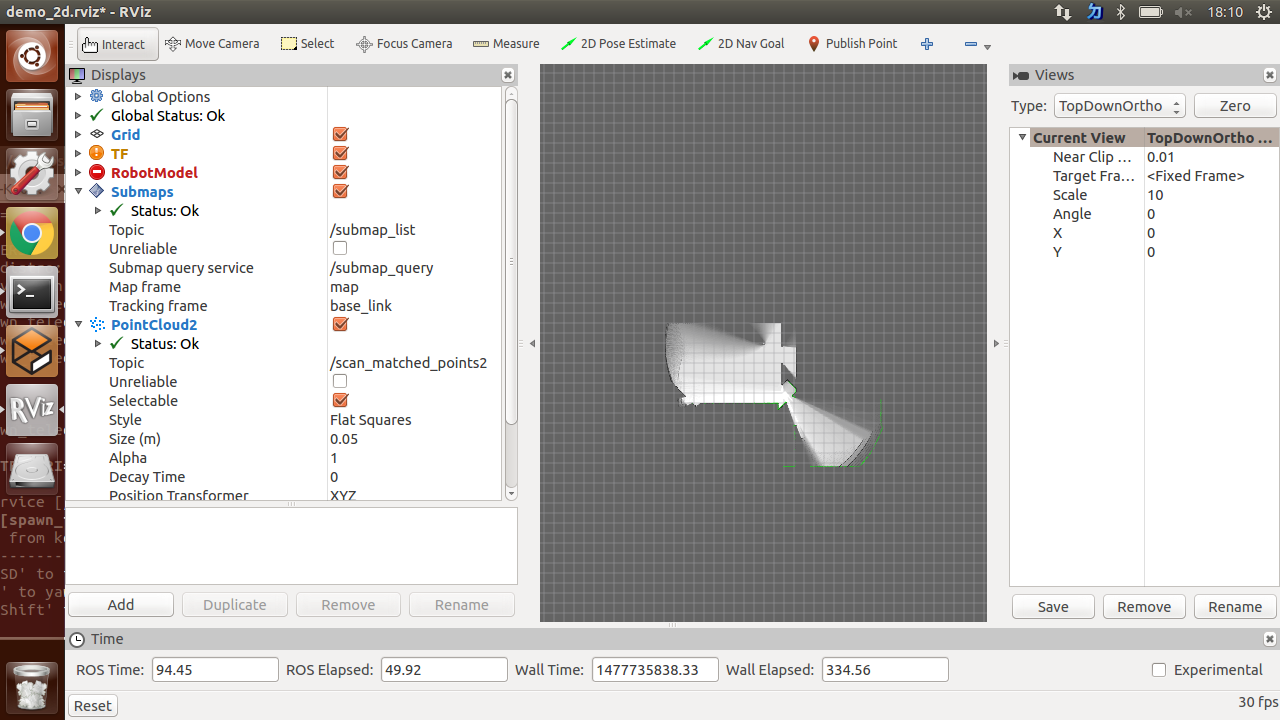
修改完之後就可以執行了,這時應該可以看到 Rviz 的視窗跳出來,也可以看到目前的地圖。
1 roslaunch cartographer_ros demo_pr2.launch
Teleop PR2 來建地圖囉 只要啟動 teleop_keyborad 就可以用鍵盤控制機器人移動:
1 roslaunch pr2_teleop teleop_keyboard.launch
WASD 四個按鍵分別代表前左後右四個方向的平移、QE兩個按鍵是原地旋轉,這邊要注意必須選到啟動 teleop_keyboard的視窗,按按鍵才有用。使用 teleop 來控制 PR2 走一走之後,就可以看得出我們已經建立了一個有模有樣的地圖。不過因為這個地圖太大,我就不走完了。
總結 今天主要帶大家把 Cartographer 跑起來,把原本 demo 用的版本換成可以接上自己的機器人,有興趣深入研究的讀者可以搭配論文,有了可以玩的環境和程式碼可以參考,學習起來會比較有感。
延伸閱讀
Cartographer論文
關於作者:@pojenlai 演算法工程師,對機器人跟電腦視覺有少許研究,最近在鍛鍊自己的執行力
喜歡我們的文章嗎?歡迎分享按讚給予我們支持和鼓勵!
留言討論