前言
除了 Web 和 Mobile App 之外,桌面應用程式(Desktop Application)也是使用者常使用的應用程式圖形化使用者介面(GUI)。透過 GUI 可以讓一般使用者透過比較直覺的方式來和程式互動(畢竟要讓一般的使用者使用 Command Line 來操作程式是挺難的),也可以讓整個使用者行為更為簡便。許多程式語言都有提供 GUI 的函式庫,讓開發者可以透過常見的元件,例如:按鈕、文字方塊、下拉式選單等方式來設計整個應用程式。在這裡,我們將使用 Python 內建的 Tkinter 函式庫來建立一個簡單的 BMI 計算應用程式,讓讀者感受一下 Python Tkinter 設計桌面應用程式的流程。
Tkinter 函式庫簡介
基本設計流程
撰寫 Tkinter GUI 程式主要會有以下三個步驟:
- 建立主視窗(設定視窗大小、位置和視窗名稱)
- 將元件(如:按鈕、文字方塊、選單等)放入視窗中
- 實作事件處理函式,當作使用者互動時的事件處理器(event handler)。例如:當使用者點擊某個按鈕時要觸發什麼行為。
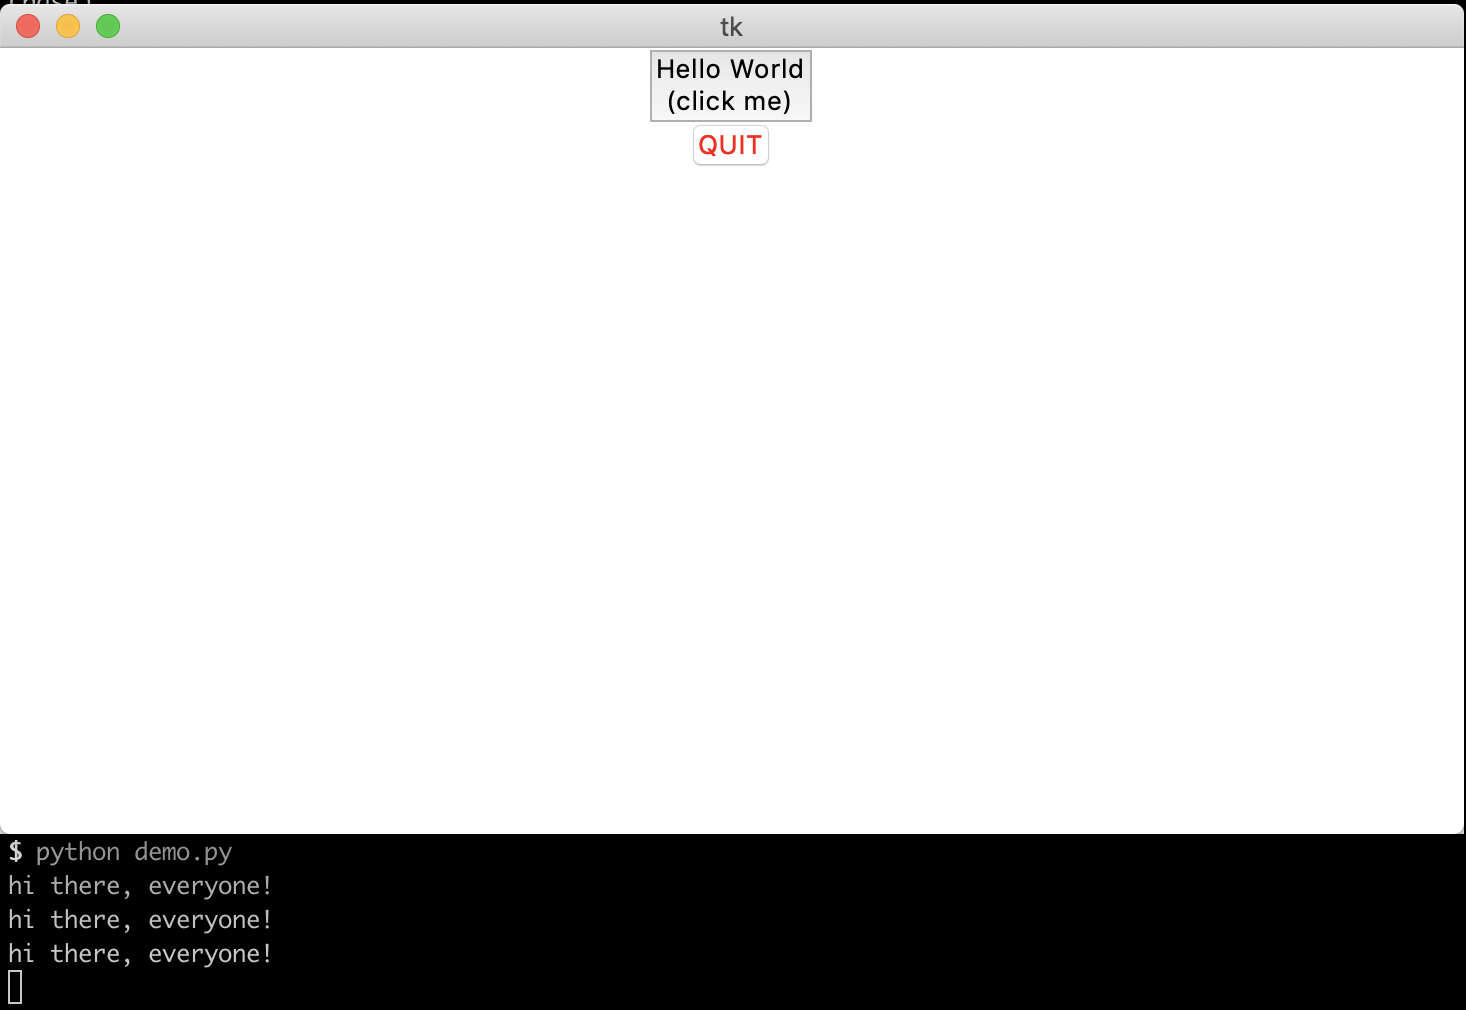
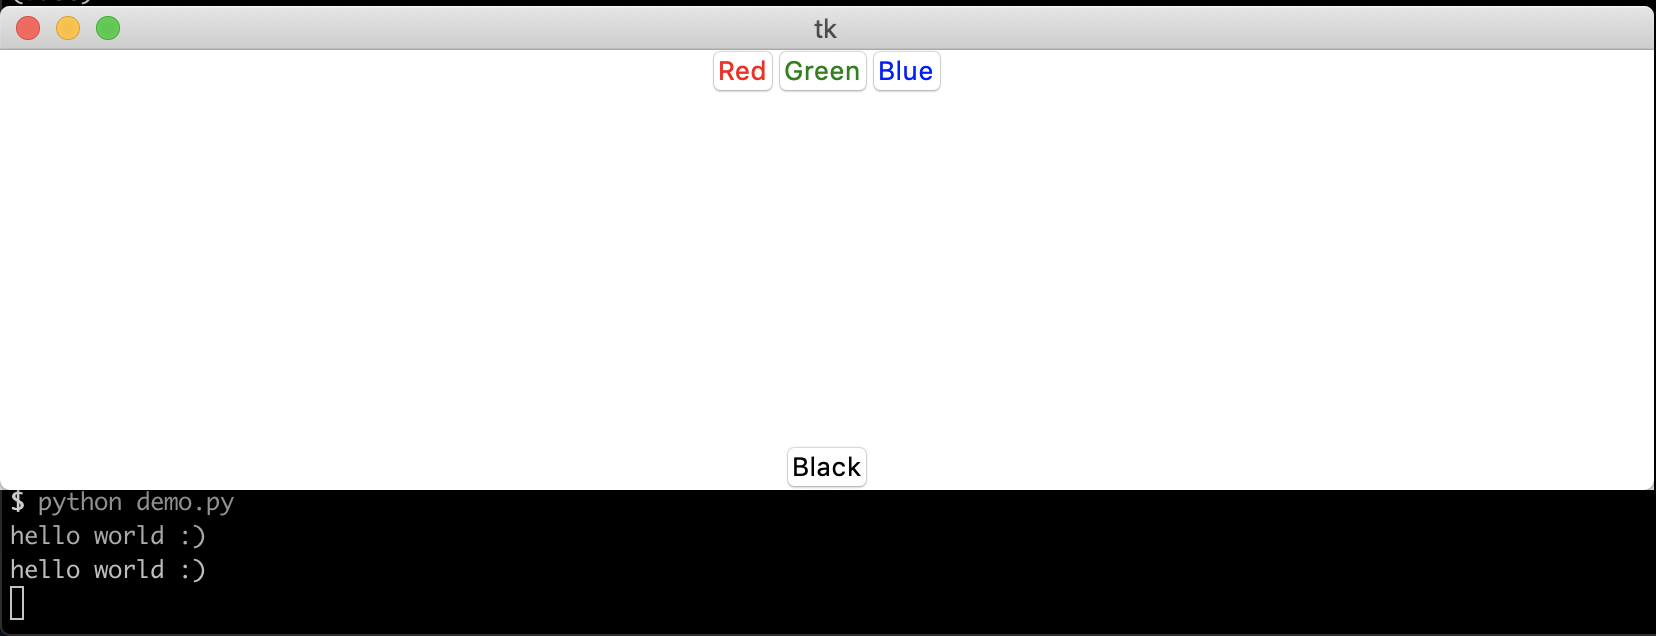
以下是簡單的範例程式,建立主視窗後加入 3+1 個按鈕元件,當點擊下方按鈕元件時,事件處理器會印出 hello world :)
1
2
3
4
5
6
7
8
9
10
11
12
13
14
15
16
17
18
19
20
21
22
23
24
25
26
27
28
29
30
31
32
33
34
35
| # 引入套件
import tkinter as tk
# 建立主視窗和 Frame(把元件變成群組的容器)
window = tk.Tk()
top_frame = tk.Frame(window)
# 將元件分為 top/bottom 兩群並加入主視窗
top_frame.pack()
bottom_frame = tk.Frame(window)
bottom_frame.pack(side=tk.BOTTOM)
# 建立事件處理函式(event handler),透過元件 command 參數存取
def echo_hello():
print('hello world :)')
# 以下為 top 群組
left_button = tk.Button(top_frame, text='Red', fg='red')
# 讓系統自動擺放元件,預設為由上而下(靠左)
left_button.pack(side=tk.LEFT)
middle_button = tk.Button(top_frame, text='Green', fg='green')
middle_button.pack(side=tk.LEFT)
right_button = tk.Button(top_frame, text='Blue', fg='blue')
right_button.pack(side=tk.LEFT)
# 以下為 bottom 群組
# bottom_button 綁定 echo_hello 事件處理,點擊該按鈕會印出 hello world :)
bottom_button = tk.Button(bottom_frame, text='Black', fg='black', command=echo_hello)
# 讓系統自動擺放元件(靠下方)
bottom_button.pack(side=tk.BOTTOM)
# 運行主程式
window.mainloop()
|
觀看成果:
建立 BMI App 主視窗
在建立我們的應用程式前,我們先簡單使用繪製我們介面的 mockup 圖:
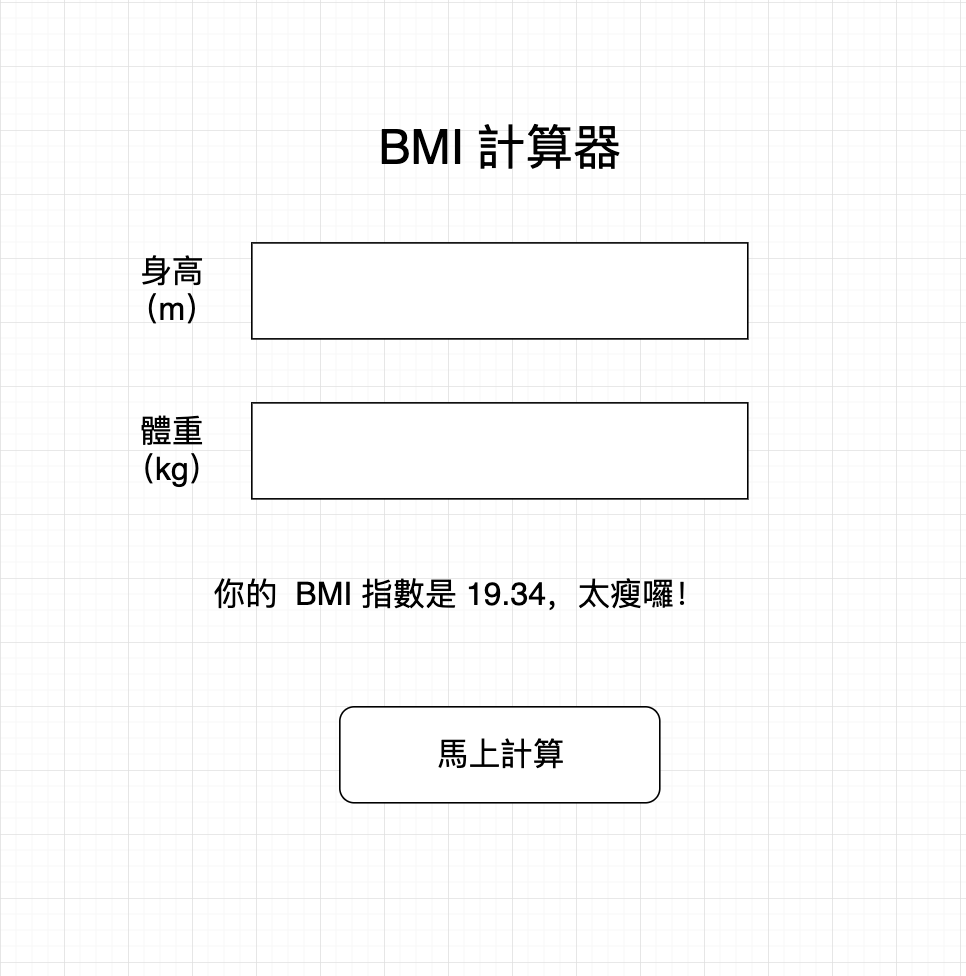
整個應用程式流程如下:
- 提供輸入框讓使用者可以輸入其身高(m)、體重(kg)
- 點擊馬上計算按鈕後計算 BMI 指數
- 顯示結果於畫面上
1
2
3
4
5
6
7
8
9
10
| import tkinter as tk
window = tk.Tk()
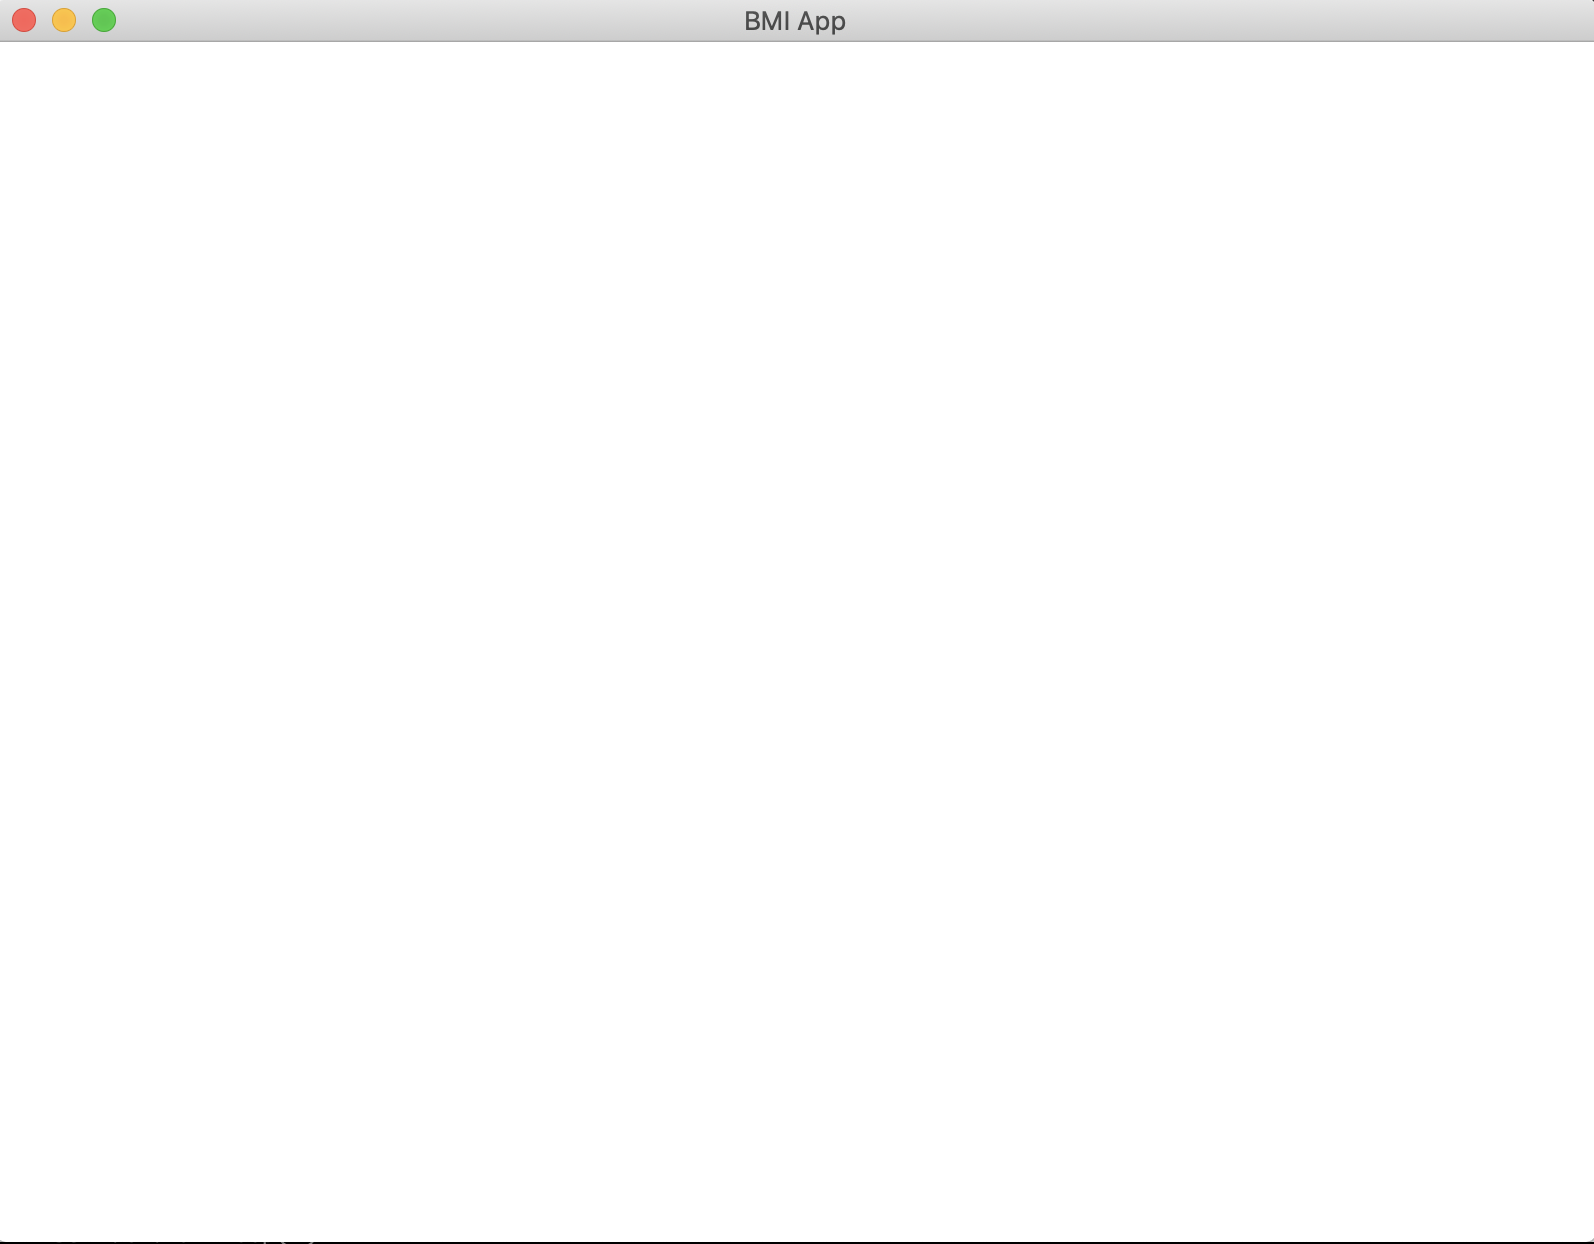
# 設定視窗標題、大小和背景顏色
window.title('BMI App')
window.geometry('800x600')
window.configure(background='white')
# 運行主程式
window.mainloop()
|
成果如下:
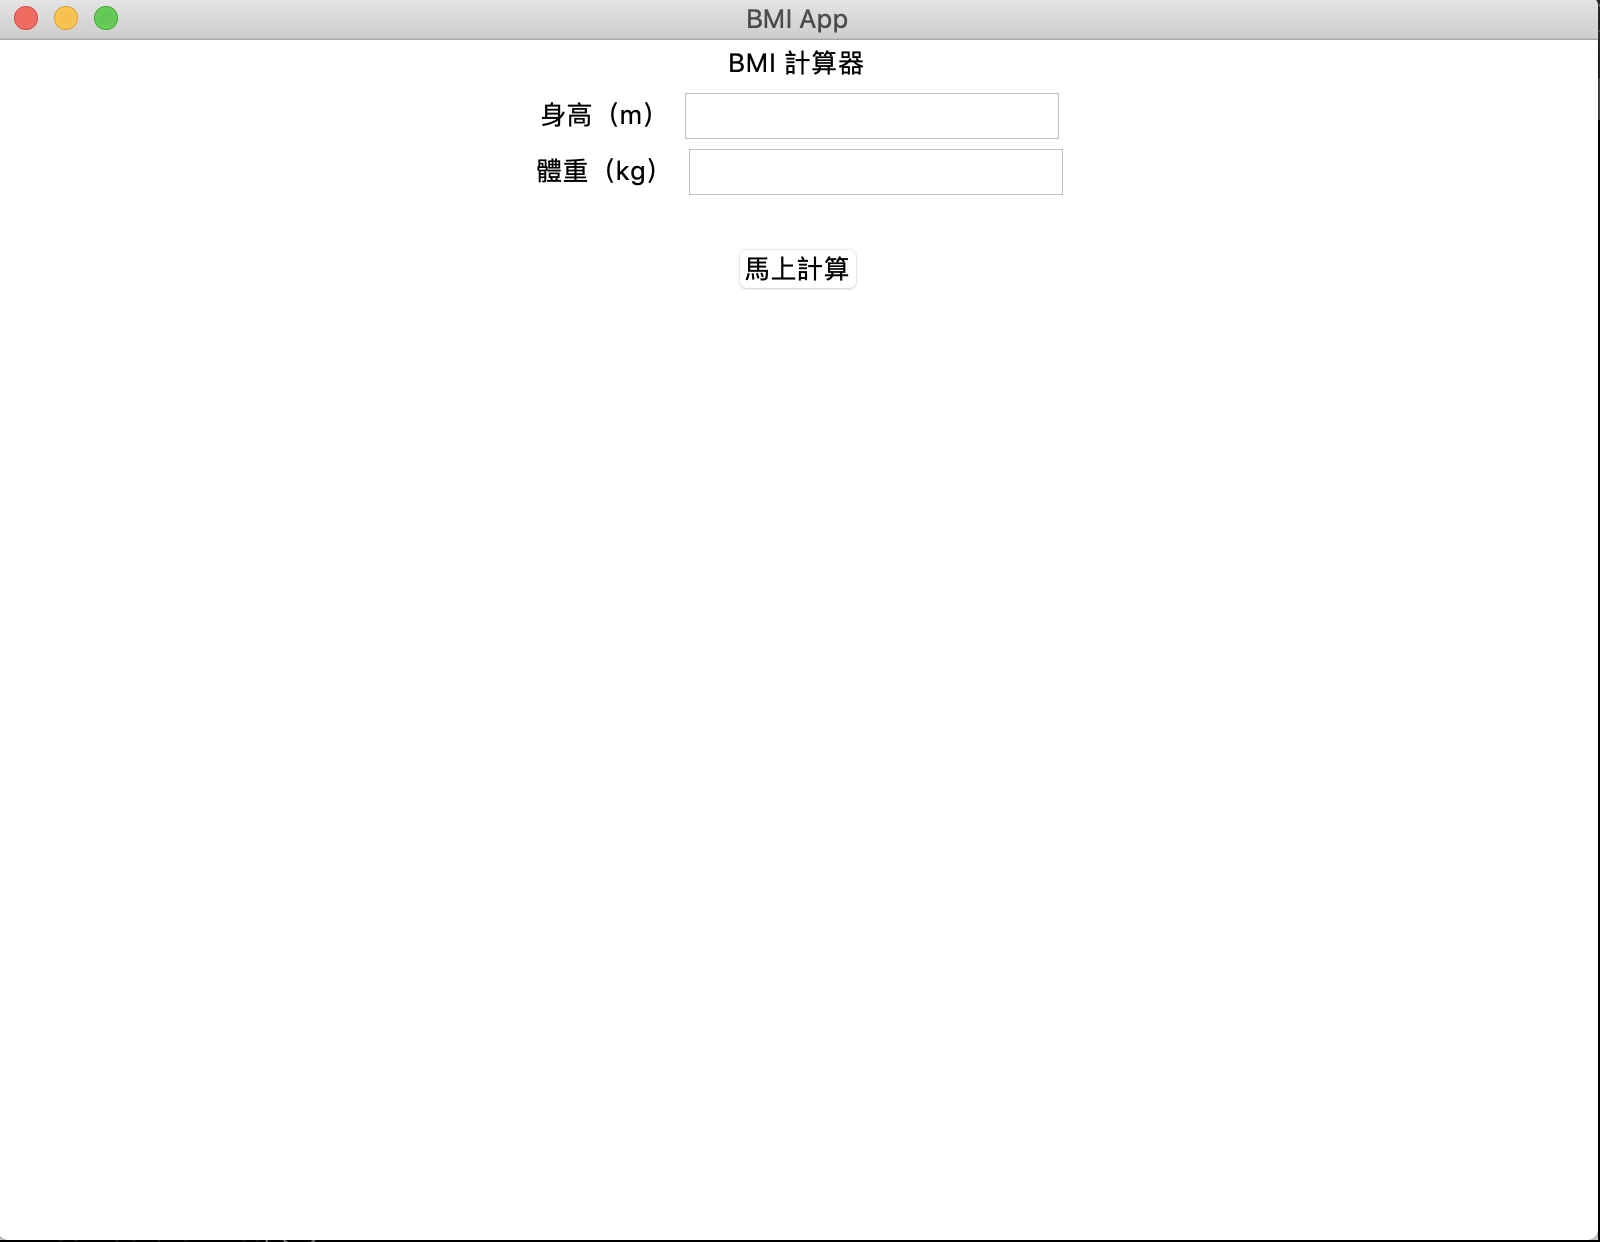
建立 BMI App 元件
建立完主視窗後,接下來我們來把元件一一加入到主視窗,我們元件主要分成三大部分:
- 標題顯示
BMI 計算器 文字區塊
- 身高體重輸入區塊
- 顯示結果和點擊按鈕
1
2
3
4
5
6
7
8
9
10
11
12
13
14
15
16
17
18
19
20
21
22
23
24
25
26
27
28
29
30
31
32
33
34
| import tkinter as tk
window = tk.Tk()
window.title('BMI App')
window.geometry('800x600')
window.configure(background='white')
header_label = tk.Label(window, text='BMI 計算器')
header_label.pack()
# 以下為 height_frame 群組
height_frame = tk.Frame(window)
# 向上對齊父元件
height_frame.pack(side=tk.TOP)
height_label = tk.Label(height_frame, text='身高(m)')
height_label.pack(side=tk.LEFT)
height_entry = tk.Entry(height_frame)
height_entry.pack(side=tk.LEFT)
# 以下為 weight_frame 群組
weight_frame = tk.Frame(window)
weight_frame.pack(side=tk.TOP)
weight_label = tk.Label(weight_frame, text='體重(kg)')
weight_label.pack(side=tk.LEFT)
weight_entry = tk.Entry(weight_frame)
weight_entry.pack(side=tk.LEFT)
result_label = tk.Label(window)
result_label.pack()
calculate_btn = tk.Button(window, text='馬上計算')
calculate_btn.pack()
window.mainloop()
|
成果:
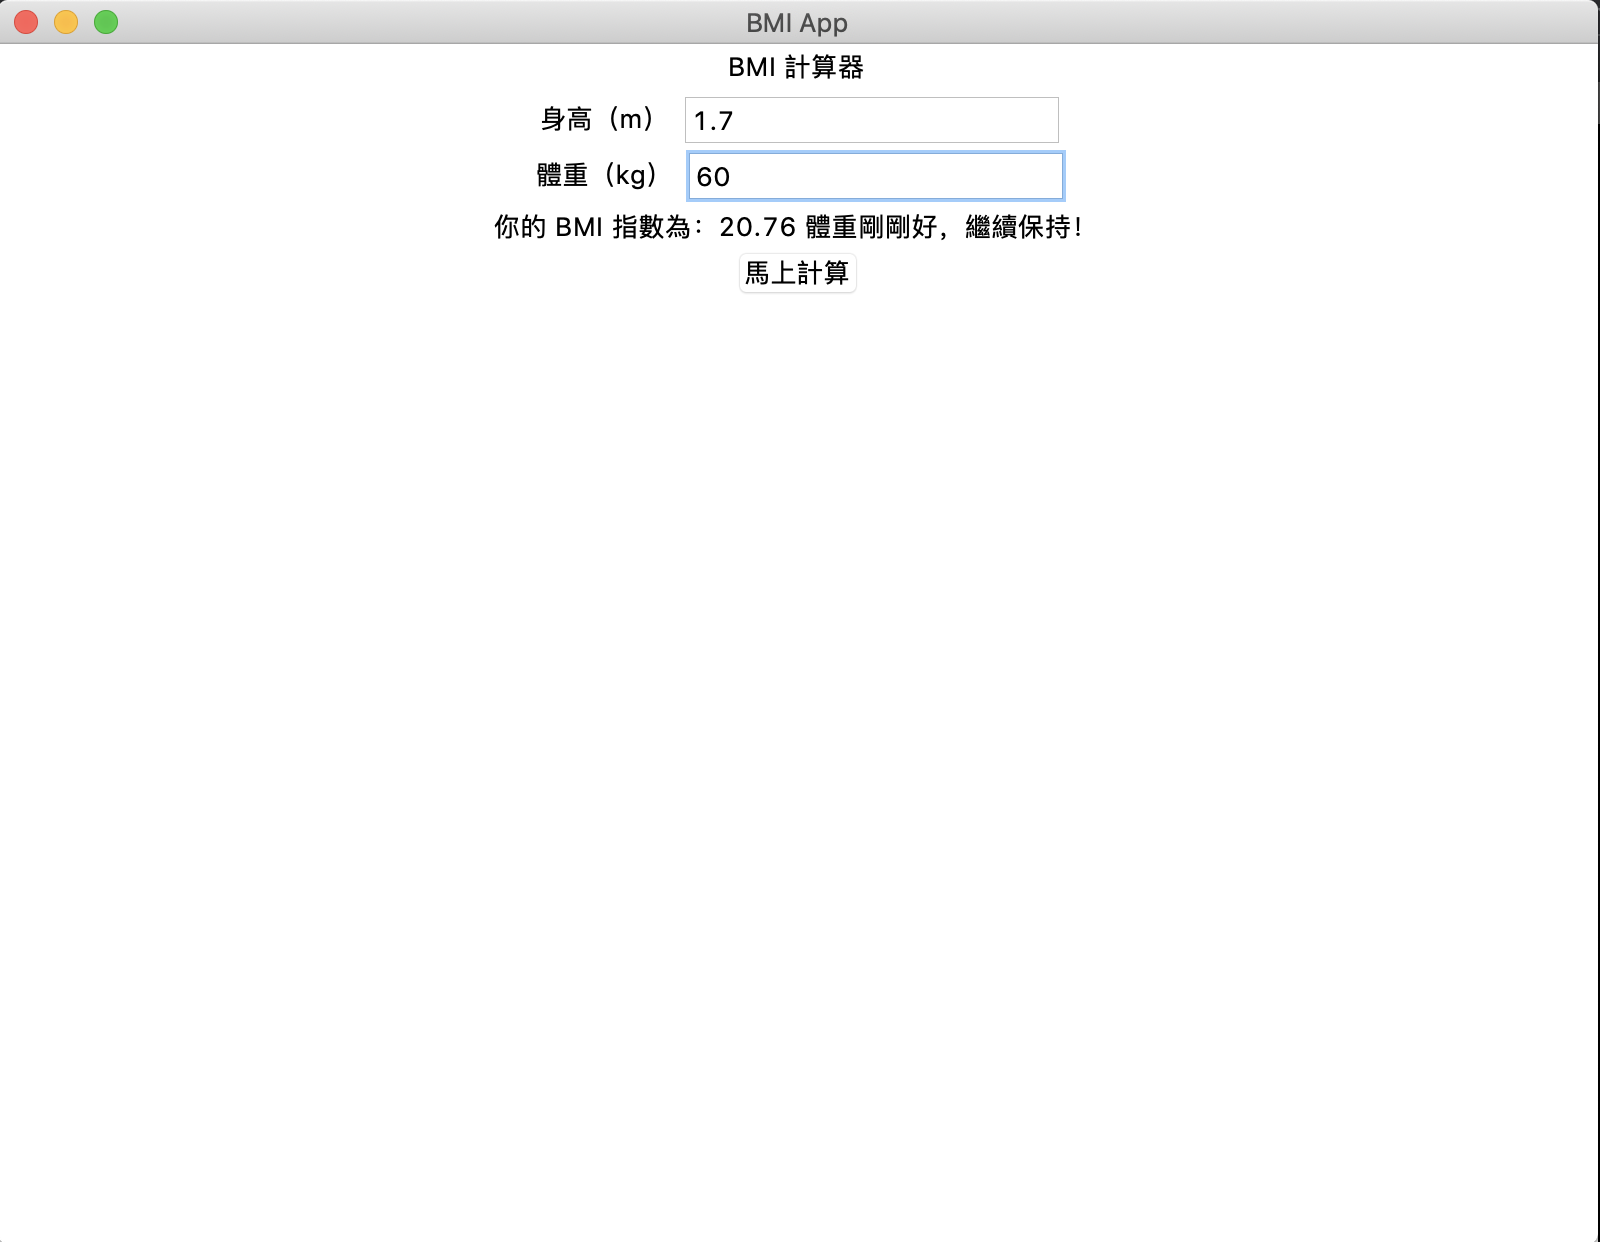
建立 BMI App 事件處理
加入元件後我們可以建立
1
2
3
4
5
6
7
8
9
10
11
12
13
14
15
| def calculate_bmi_number():
height = float(height_entry.get())
weight = float(weight_entry.get())
bmi_value = round(weight / math.pow(height, 2), 2)
result = '你的 BMI 指數為:{} {}'.format(bmi_value, get_bmi_status_description(bmi_value))
# 將計算結果更新到 result_label 文字內容
result_label.configure(text=result)
def get_bmi_status_description(bmi_value):
if bmi_value < 18.5:
return '體重過輕囉,多吃點!'
elif bmi_value >= 18.5 and bmi_value < 24:
return '體重剛剛好,繼續保持!'
elif bmi_value >= 24 :
return '體重有點過重囉,少吃多運動!'
|
透過 command 參數可以將 calculate_bmi_number 事件處理函式綁定到元件上
1
| calculate_btn = tk.Button(window, text='馬上計算', command=calculate_bmi_number)
|
完整程式碼:
1
2
3
4
5
6
7
8
9
10
11
12
13
14
15
16
17
18
19
20
21
22
23
24
25
26
27
28
29
30
31
32
33
34
35
36
37
38
39
40
41
42
43
44
45
46
47
| import tkinter as tk
import math
window = tk.Tk()
window.title('BMI App')
window.geometry('800x600')
window.configure(background='white')
def calculate_bmi_number():
height = float(height_entry.get())
weight = float(weight_entry.get())
bmi_value = round(weight / math.pow(height, 2), 2)
result = '你的 BMI 指數為:{} {}'.format(bmi_value, get_bmi_status_description(bmi_value))
result_label.configure(text=result)
def get_bmi_status_description(bmi_value):
if bmi_value < 18.5:
return '體重過輕囉,多吃點!'
elif bmi_value >= 18.5 and bmi_value < 24:
return '體重剛剛好,繼續保持!'
elif bmi_value >= 24 :
return '體重有點過重囉,少吃多運動!'
header_label = tk.Label(window, text='BMI 計算器')
header_label.pack()
height_frame = tk.Frame(window)
height_frame.pack(side=tk.TOP)
height_label = tk.Label(height_frame, text='身高(m)')
height_label.pack(side=tk.LEFT)
height_entry = tk.Entry(height_frame)
height_entry.pack(side=tk.LEFT)
weight_frame = tk.Frame(window)
weight_frame.pack(side=tk.TOP)
weight_label = tk.Label(weight_frame, text='體重(kg)')
weight_label.pack(side=tk.LEFT)
weight_entry = tk.Entry(weight_frame)
weight_entry.pack(side=tk.LEFT)
result_label = tk.Label(window)
result_label.pack()
calculate_btn = tk.Button(window, text='馬上計算', command=calculate_bmi_number)
calculate_btn.pack()
window.mainloop()
|
最後成果:
總結
以上透過 Python 內建的 Tkinter 函式庫來建立一個簡單的 BMI 計算應用程式,讓讀者感受一下 Python Tkinter 設計桌面應用程式的流程。事實上,Tkinter 支援物件導向撰寫方式,我們也可以將以上程式碼重構成物件導向撰寫方式。比起 CLI 來說 GUI 對於一般使用者在使用上確實是比較方便,若有興趣的讀者也可以自己嘗試製作小遊戲或是更多有趣的不同應用。
參考文件
- tkinter — Python interface to Tcl/Tk
- Python 快速入門教學
關於作者
@kdchang 文藝型開發者,夢想是做出人們想用的產品和辦一所心目中理想的學校。A Starter & Maker. JavaScript, Python & Arduino/Android lover.:)
喜歡我們的文章嗎?歡迎分享按讚給予我們支持和鼓勵!
留言討論